
Hosting static sites for free on Github’s Pages is fantastic, but it might be more preferable to ru your own server. My go-to for that is Heroku. This post will not go into how to host on Heroku (I will assume you already are hosting there), but how to point your purchased hover domain to your Heroku-hosted web-app. The process has a few more nuances than my previous post on pointing to gh-pages.
For the following directions I’ll use
- On hover click through your desired domain (https://hover.com/domain/
). Under the initial “Domain Details” tab, edit the “Forward This Domain” value and enter . 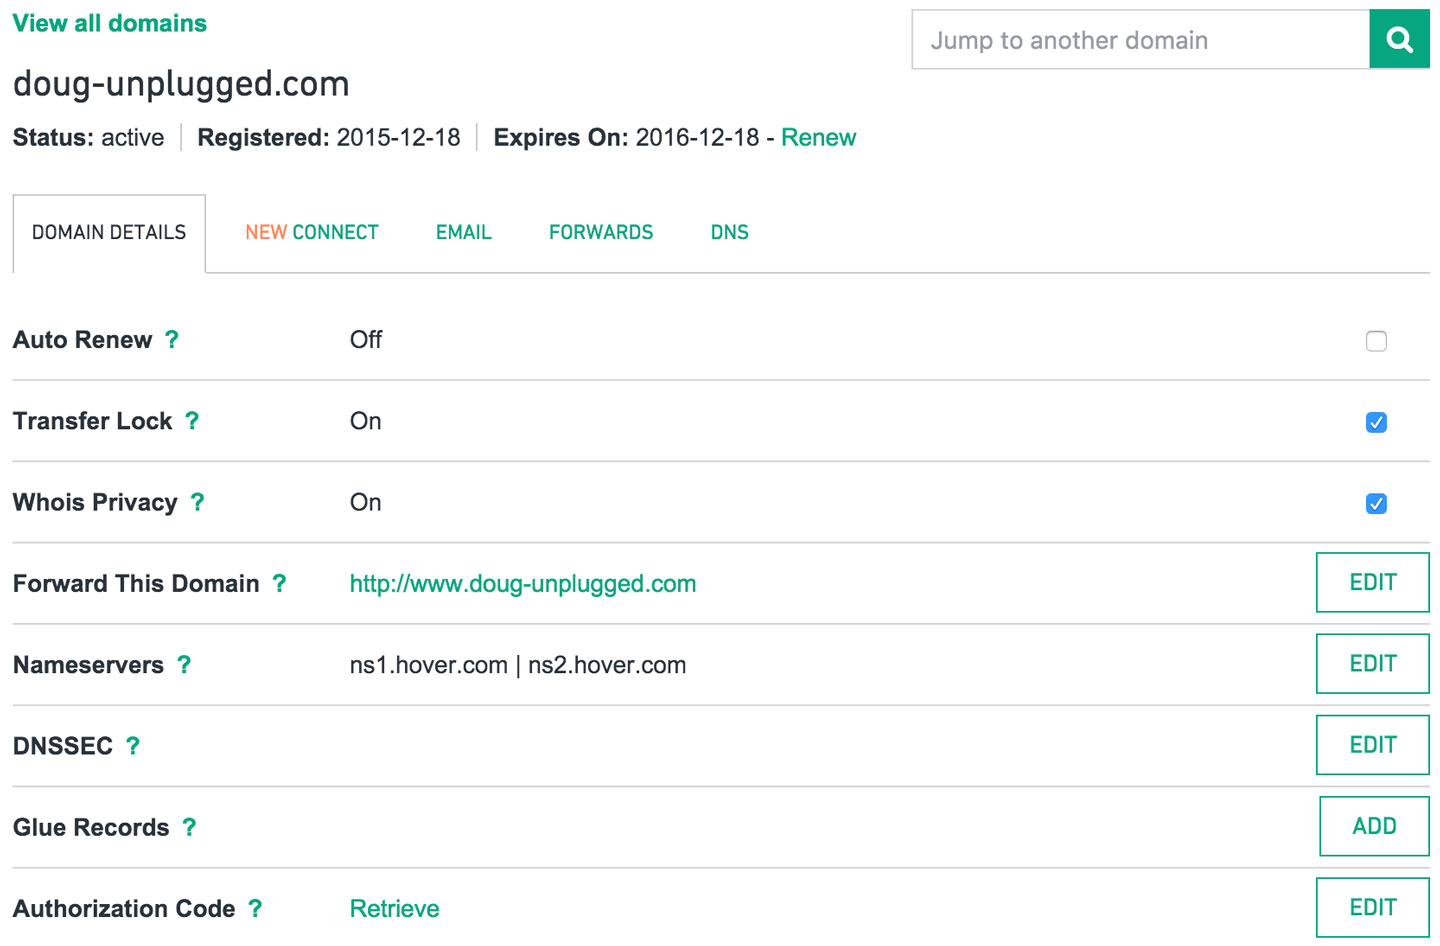
- Still on hover, move over to the “DNS” tab. Click “ADD NEW”. Enter the following values:
- Hostname: www, Record Type: CNAME, Value:
And Save. Your screen should look like this: 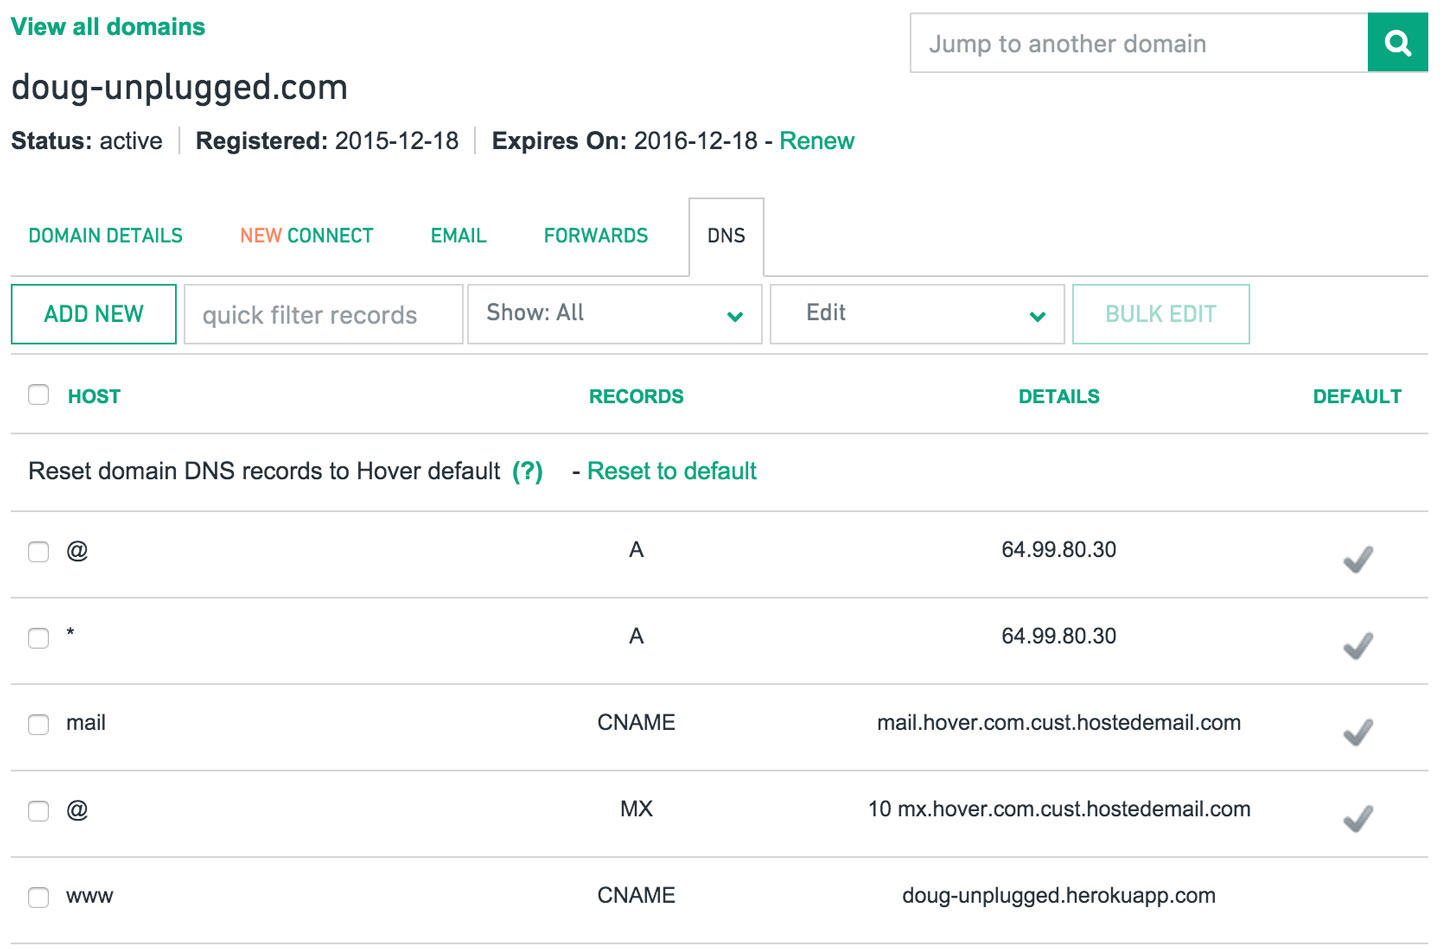
- Hostname: www, Record Type: CNAME, Value:
- Within your Heroku dashboard, open your app and go to the settings tab (the URL should resemble https://dashboard.heroku.com/apps/
/settings). Scroll down to the Domains section and click “Add domain” and enter the following values: - Domain Name:
, DNS Target: .
- Domain Name:
- Boom goes the dynomite. Give it a few minutes to settle (it took mine 10-15 min) and you’re off and ready! If you have any trouble, I used hover’s chat to talk with a super helpful guy named Ryan. While you might not get Ryan, hover’s service is top-notch and they’ll help you out and send you, in my opinion, a few too many emails assuring your issue was resolved.
All the Best,
Brendan