
On small projects it is important to be mindful of your development process, but it is also important to make light work out of setting up a development environment. For me, while working on a Wordpress project for a friend, this means making quick use of npm, gulp, scss-lint, and eslint. For simplicity’s sake, the use-case will be creating a child theme in Wordpress, writing our CSS in SCSS, writing our javaScript in ES6 standards, and doing this all the the Atom text editor.
File Structure
wp-content/
  |
  + plugins/
  |
  - themes/
    |
    - child-theme/
      |
      + css/
      |
      + js/
      |
      + node_modules/
      |
      - src/
        |
        - scss/
          |
          - main.scss
        |
        - js/
          |
          - main.js
      |
      - .eslintrc
      |
      - gulpfile.js
      |
      - package.json
      |
      - style.css
    |
    + parent-theme/
  |
  - index.php
Atom Packages and Linting
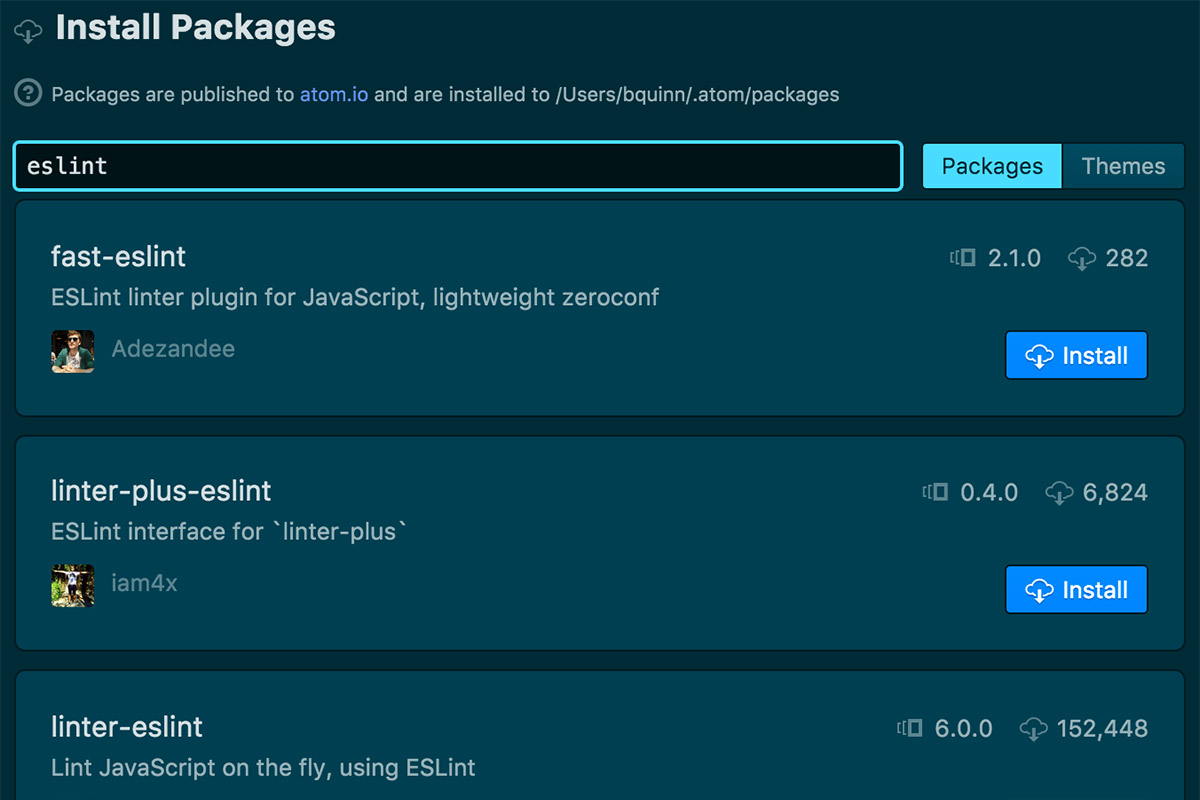
Now let’s get Atom where it needs to be, if you don’t already install both the linter-eslint and linter-scss-lint packages and enable them. This much will begin lintig your .scss files. To lint our javaScript files need a .eslintrc file. With the mindset of keeping it simple, I utilize Airbnb’s lint rules. Their code styles are well documented and it is easy to install. My .eslintrc is this simple.
{
  "extends": "airbnb/base",
}
The linter won’t be functional until the supporting node packages are installed. Run npm install –save-dev eslint-config-airbnb eslint (Thank you, good documentation).
Great, now SCSS and ES6 javaScript files will lint. Once, gulpfile.js is setup we’ll be on our way.
Setting up Gulp
Several node packages are needed in our gulp file. Running this single command in your terminal will take care of all our needs:
npm install --save-dev  gulp gulp-autoprefixer gulp-babel
                        gulp-concat gulp-cssnano gulp-rename
                        gulp-ruby-sass gulp-sourcemaps
                        babel-preset-es2015
Boom. Given the file structure above, I want to take .scss files from …/src/scss and .js files from …src/js and map them to css and js, respectively. This gulp file will do that for us, while watching for changes in the source files.
const gulp = require('gulp');
const sass = require('gulp-ruby-sass');
const autoprefixer = require('gulp-autoprefixer');
const minifycss = require('gulp-minify-css');
const rename = require('gulp-rename');
const sourcemaps = require('gulp-sourcemaps');
const babel = require('gulp-babel');
const concat = require('gulp-concat');

gulp.task('babel', () =>
    gulp.src('src/js/**/*.js')
      .pipe(sourcemaps.init())
      .pipe(babel({
        presets: ['es2015'],
      }))
      .pipe(concat('main.js'))
      .pipe(sourcemaps.write('.'))
      .pipe(gulp.dest('js'))
);

gulp.task('sass', () =>
  sass('src/scss/main.scss', { style: 'expanded' })
    .pipe(gulp.dest('css'))
    .pipe(autoprefixer('last 2 version', 'safari 5', 'ie 8', 'ie 9', 'opera 12.1'))
    .pipe(gulp.dest('css'))
    .pipe(rename({ suffix: '.min' }))
    .pipe(minifycss())
    .pipe(gulp.dest('css'))
);

gulp.task('watch', () => {
  gulp.watch('src/scss/**/*.scss', ['sass']);
  gulp.watch('src/js/**/*.js', ['babel']);
});


gulp.task('default', ['sass', 'babel', 'watch'], () => {});
There you have it. While in the child-theme directory, run the gulp command to see it all compile and watch for changes.
I hope this was helpful. Feel free to comment if you have any questions.
All the Best,
Brendan